
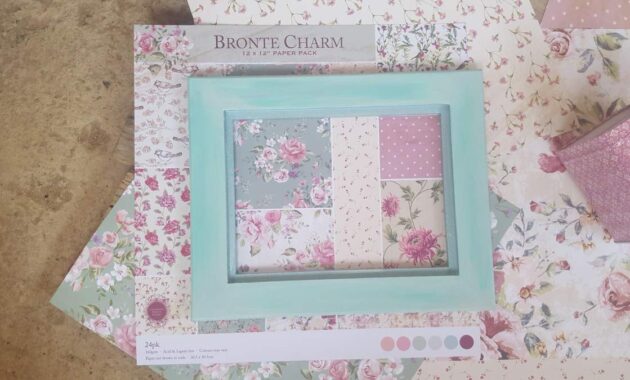
I love scrapbook paper. It can be used in so many different ways to transform something boring into something extraordinary. The scrapbook paper is relatively cheap and there are many different options to choose from. I bought this pack of 24 sheets for under R 100, and I absolutely love the soft neutral colors and beautiful patterns. It just oozes shabby chic. Soft, lady-like with pops of pastel pink and time-worn hints of days gone by.
When I bought the paper I had no idea what I wanted to do with it so the paper went into the craft cupboard and over time, kinda got stuck behind all my other crap crafty bits. Does that happen to you too? Anyways, I’d been meaning to make a small pallet shelf for my daughter’s bedroom, and ended up scrounging around in the craft cupboard for something to add a little pizzaz to the shelf when I rediscovered the scrapbook paper. Bingo, it was perfect.
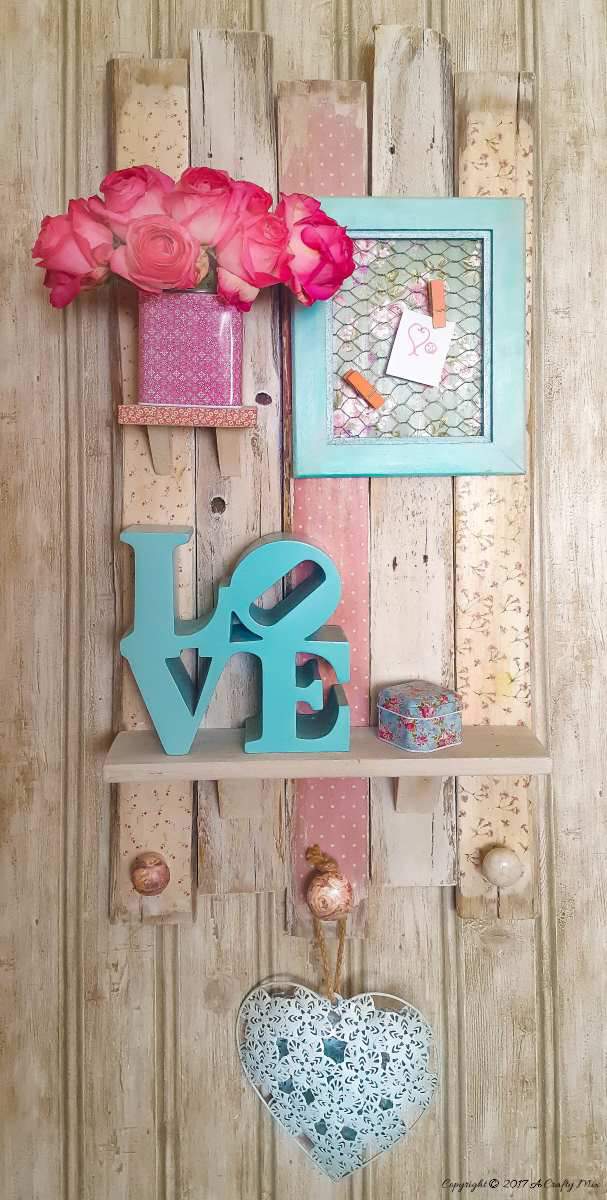
Here’s what I used to make the scrapbook shelf
- Scrapbook paper (I used 4 12″ x 12″ pieces from Bronte Charm)
- pallets cut into 5 x 74 cm (about 29″) lengths and 1 x 38 cm (15″) and 1 x 12.5 cm (5″) to form the shelves
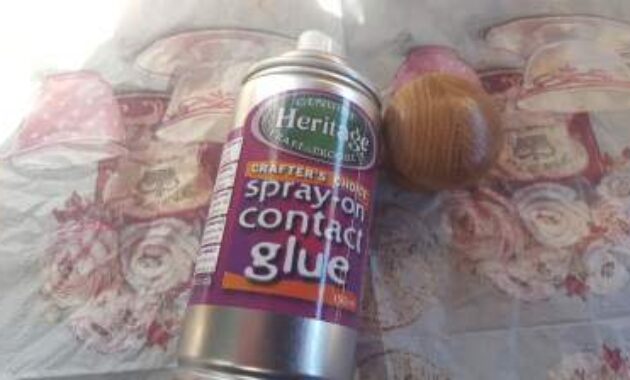
- Wood glue, contact glue, and Mod Podge
- Annie Sloan Old White Chalk Paint
- Hardboard, knobs and a serviette
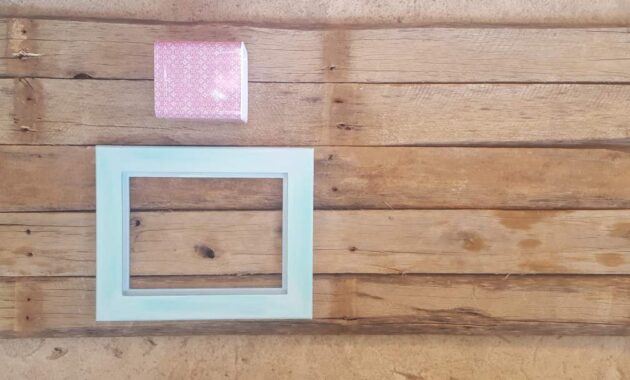
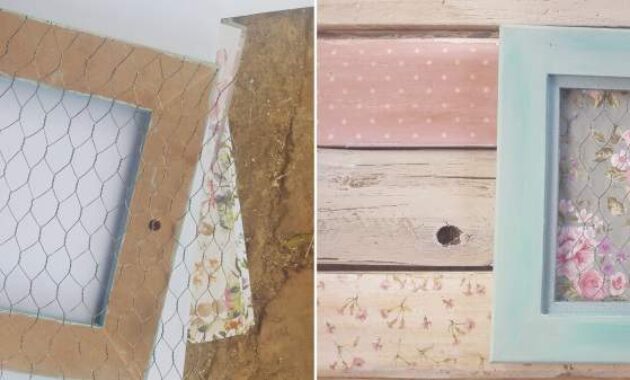
- Old frame, acrylic paint, and chicken wire
- Stain
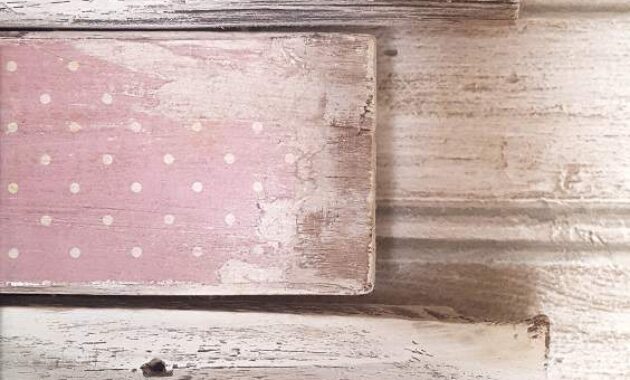
Some of the pallet bits had sooooo much character, which I wanted to keep, so after sanding them I just dry brushed on the Old White chalk paint and let the natural grain, knots, and wormholes show through. I Mod Podged the scrapbook paper on the other pallet bits.
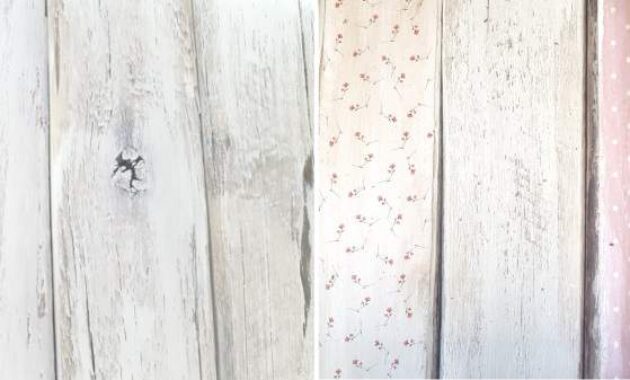
The most difficult thing was trying to line up the patterns so they look seamless. Grrrrrrr. After spending a very frustrating hour confusing myself, I gave up and just stuck the paper down and used some sandpaper to hide the un-seamless joins. I distressed the edges of the scrapbook paper and sealed everything with Mod Podge mixed with some stain to create an old-world look.
I found the easiest way to join the pallets was to use some hardboard. Just cut to size and glue and screw it onto the back. I still haven’t figured out how the Kregg jig, that hubby bought, works. We attached the two shelves using a basic triangular bracket, cut from pallets to add a bit of rustic charm. Talea painted an old frame in her favorite color and we added chicken wire onto the back to make a pinboard for all her little notes.
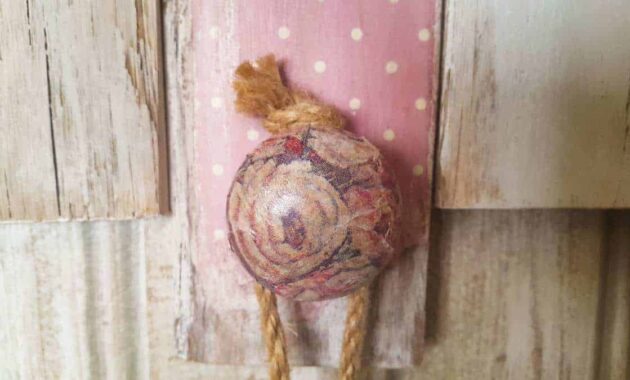
We also found some serviettes that matched the scrapbook paper beautifully. Aren’t they lovely? A bit of contact glue and the boring old wooden door knobs are transformed.
We screwed the transformed doorknobs onto the shelf so Talea can hang her fake jewels and other bits.
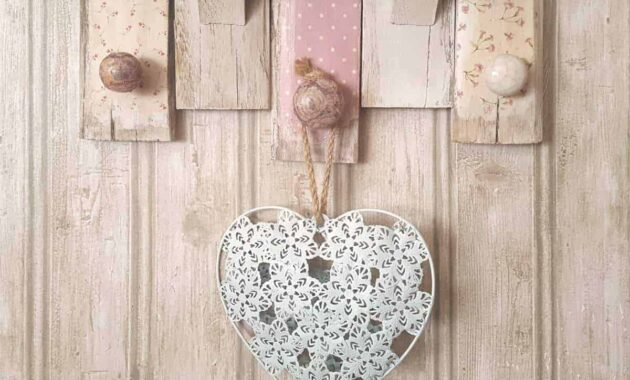
Love these little serviette knobs.
A quick and easy scrapbook shelf made with pallets. What could be easier?
I think the salvaged and whitewashed pallet wood combined with the soft beautiful colors of the scrapbook paper make such a timeless statement. What do you think? Does it work for you?

