
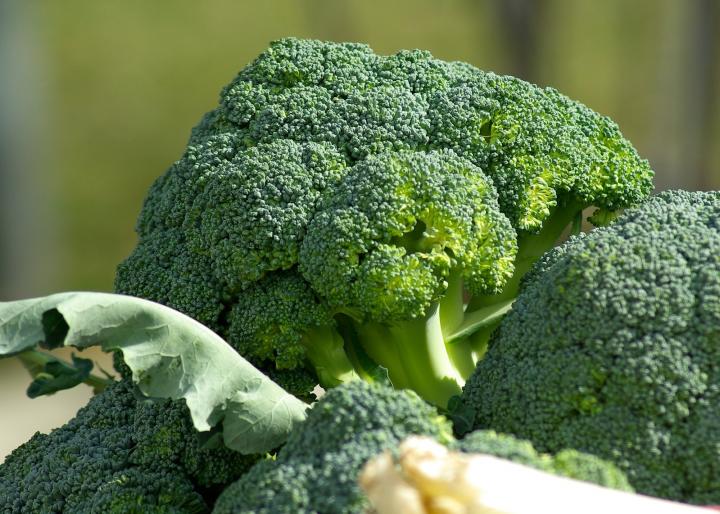
Broccoli is a sun-loving, cool-season crop that is best grown in the chillier weather of spring or fall. It’s also incredibly good for you and has been dubbed the “crown jewel of nutrition.” Here’s how to plant, grow, and harvest broccoli in your garden!
About Broccoli
Broccoli is worth growing for its nutritional content alone. This cole crop is rich in vitamins and minerals, and is a good source of Vitamin A, potassium, folic acid, iron, and fiber.
Broccoli takes a long time to mature, so be patient! Once you harvest the main head of a broccoli plant, it will often keep producing smaller side shoots that can be enjoyed for months to come.
When to Plant Broccoli
- Broccoli is cool-season crop, so it should be started in late winter or early spring (depending on your climate) for an early summer crop, or in mid- to late summer for a fall crop. High temperatures will affect development of the broccoli head (the harvestable part), so the goal is to get broccoli to mature before or after high temperatures are expected.
- Broccoli seeds are capable of germinating in soil temperatures as low as 40°F (4°C), but warmer soil is preferred and will greatly speed up development.
- For spring plantings, broccoli may be started indoors or outdoors a few weeks ahead of your last spring frost date. Consult our Planting Calendar to see recommended dates for your area. Generally speaking:
- Start seeds indoors 6 to 8 weeks before your last frost date.
- Sow seeds outdoors 2 to 3 weeks before your last frost date, or as soon as the soil can be worked in the spring.
- For fall plantings (best in warm climates), sow seeds outdoors 85 to 100 days before the first fall frost, when soil and ambient temperatures are high.

Preparing the Planting Site
- Broccoli requires a site with exposure to full sun (6 to 8 hours per day). Lack of sunlight may produce thin, leggy plants and subpar heads.
- Plant in a bed of moist, fertile soil that drains well.
- Soil pH should be slightly acidic, between 6.0 and 7.0.
- To increase fertility before you plant, in early spring, work in 2 to 4 inches of rich compost or a thin layer of manure. (Learn more about soil amendments and preparing soil for planting.)
How to Plant Broccoli
- If starting seeds outdoors, sow seeds 1/2-inch deep and 3 inches apart.
- Once seedlings reach a height of 2 to 3 inches, thin them so that plants are 12 to 20 inches apart.
- If you started seeds indoors, plant transplants that are 4 to 6 weeks old (and have 4 or 5 leaves) outdoors, 12 to 20 inches apart, in holes slightly deeper than their container depth.
- Space rows of broccoli 3 feet apart. (Closer spacing yields smaller main heads, but more secondary heads.)
- Water well at the time of planting.
Broccoli Plant Care
- Plants thrive outdoors in 65°F to 70°F (18° to 21°C) conditions.
- Fertilize broccoli three weeks after transplanting seedlings into the garden. Use a low-nitrogen fertilizer.
- Thin when young plants reach 2 to 3 inches tall. Plants should be between 12 and 20 inches apart.
- Provide consistent soil moisture with regular watering, especially in drought conditions. Water at least 1 to 1 1/2 inches per week.
- Do not get developing broccoli heads wet when watering, as it can encourage rot.
- Roots are very shallow, so try not to disturb the plants. Suffocate weeds with mulch.
- Mulching around plants will also help to keep soil temperatures down.
- Use row covers to minimize pests.
- To promote the growth of a second head after the first has been harvested, maintain an active feeding and watering schedule.
- Learn more about taking care of your broccoli plant.
Growing Broccoli Video
We’ll show you how to grow broccoli in the garden!
| Pest/Disease | Type | Symptoms | Control/Prevention |
|---|---|---|---|
| Aphids | Insect |
Curled, misshapen/yellow leaves; distorted flowers/fruit; sticky “honeydew” (excrement); sooty, black mold. |
Grow companion plants; knock off with water spray; apply insecticidal soap; put banana or orange peels around plants; wipe leaves with a 1 to 2 percent solution of water and dish soap (no additives) every 2 to 3 days for 2 weeks; add native plants to invite beneficial insects (such as ladybugs). |
| Cabbage loopers | Insect | Large, ragged holes in leaves from larval feeding; defoliation; stunted or bored heads; excrement. | Handpick off plants; add native plants to invite beneficial insects; spray larvae with insecticidal soap or Bacillus thuringiensis (Bt)—a natural, bacterial pesticide; use row covers; remove plant debris at end of season. |
| Cabbage root maggots | Insect | White maggots become gray flies that resemble small houseflies. Wilted/stunted plants; off-color leaves; larvae feeding on roots. | Use collars made of plastic or tin foil around seedling stems; monitor adults with yellow sticky traps; use row covers; destroy crop residue; till soil in fall; rotate crops. |
| Cabbageworms | Insect | Leaves have large, ragged holes or are skeletonized; heads bored; dark green excrement; yellowish eggs laid singly on leaf undersides. | Handpick; use row covers; add native plants to invite beneficial insects; grow companion plants (especially thyme); spray Bt (Bacillus thuringiensis). |
| Clubroot | Fungus | Wilted/stunted plants; yellow leaves; roots appear swollen/distorted. | Destroy infected plants; solarize soil; maintain soil pH of around 7.2; disinfect tools; rotate crops. |
| Downy Mildew | Fungus | Yellow, angular spots on upper leaf surfaces that turn brown; white/purple/gray cottony growth on leaf undersides only; distorted leaves; defoliation. | Remove plant debris; choose resistant varieties; ensure good air circulation; avoid overhead watering. |
| Nitrogen deficiency | Deficiency | Bottom leaves turn yellow and the problem continues toward the top of the plant. | Supplement with a high nitrogen (but low phosphorus) fertilizer or blood meal. Blood meal is a quick nitrogen fix for yellowing leaves. |
| Stink bugs | Insect | Yellow/white blotches on leaves; shriveled seeds; eggs, often keg-shape, in clusters on leaf undersides. | Destroy crop residue; handpick (bugs emit odor, wear gloves); destroy eggs; spray nymphs with insecticidal soap; use row covers; weed; till soil in fall. |
| White rust | Fungus | Chalk-white blisters mainly on leaf undersides; small, yellow-green spots or blisters, sometimes in circular arrangement, on upper leaf surfaces; possible distortion or galls; flowers/stems may also be infected. More common with warm days and cool/moist nights. | Destroy infected plants; choose resistant varieties; weed; destroy crop residue; rotate crops. |
| Whiteflies | Insect | Sticky “honeydew” (excrement); sooty, black mold; yellow/ silver areas on leaves; wilted/stunted plants; distortion; adults fly if disturbed; some species transmit viruses. | Remove infested leaves/plants; use handheld vacuum to remove pests; spray water on leaf undersides in morning/evening to knock off pests; monitor adults with yellow sticky traps; spray with insecticidal soap; invite beneficial insects and hummingbirds with native plants; weed; use reflective mulch. |
- ‘Calabrese’ is an Italian heirloom with large heads and prolific side shoots that will mature for harvesting. Great for fall planting, too.
- ‘Flash’ is a fast-growing, heat-resistant hybrid with good side-shoot production once the central head is cut. Great for fall planting, too.
- ‘Green Goliath’ is heat-tolerant with giant heads and prolific side shoots.
- ‘Green Duke’ is heat tolerant and an early variety that’s especially good for Southern gardeners.
- ‘Green Magic’ is heat tolerant; freezes well.
- ‘Paragon’ has extra-long spears; excellent for freezing.
How to Harvest Broccoli
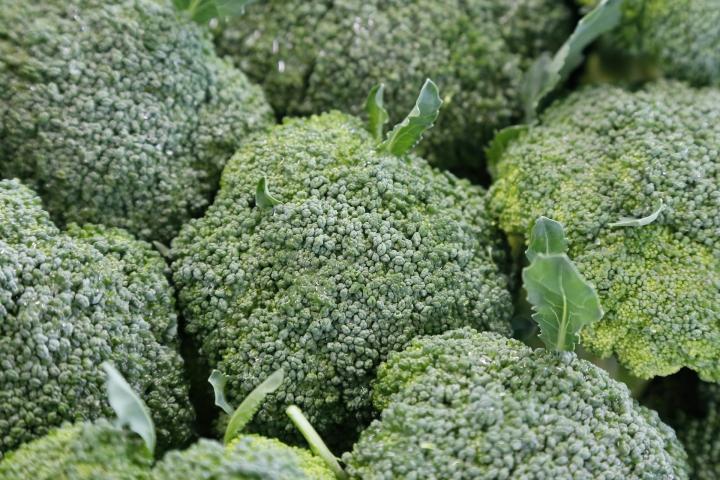
- Harvest broccoli in the morning, when the buds of the head are firm and tight, just before the heads flower.
- If you do see yellow petals, harvest immediately, as the quality will decrease rapidly.
- Cut heads from the plant, taking at least 6 inches of stem. Make a slanted cut on the stalk to allow water to slide away. (Water can pool and rot the center of a flat-cut stalk, runing the secondary heads.)
- Most varieties have side-shoots that will continue to develop after the main head is harvested. You can harvest from one plant for many weeks, in some cases, from spring to fall, if your summer isn’t too hot.
- Learn more tips on harvesting broccoli.
How to Store Broccoli
- Store broccoli in the refrigerator for up to 5 days.
- If you wash before storing, make sure to dry it thoroughly.
- Broccoli can be blanched and frozen for up to one year.
- Originally, broccoli was eaten for its stems.
- Early Roman farmers referred to broccoli as “the five green fingers of Jupiter.”
- Once you’ve gotten broccoli down pat, why not try growing one of its relatives? See our Growing Guides for cauliflower, cabbage, brussels sprouts, rutabaga, kale, and turnips!
One ounce of broccoli has an equal amount of calcium as one ounce of milk. Learn more about the amazing health benefits of broccoli.


