
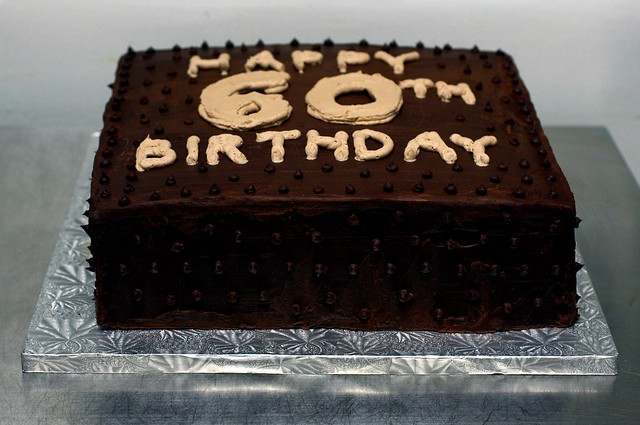
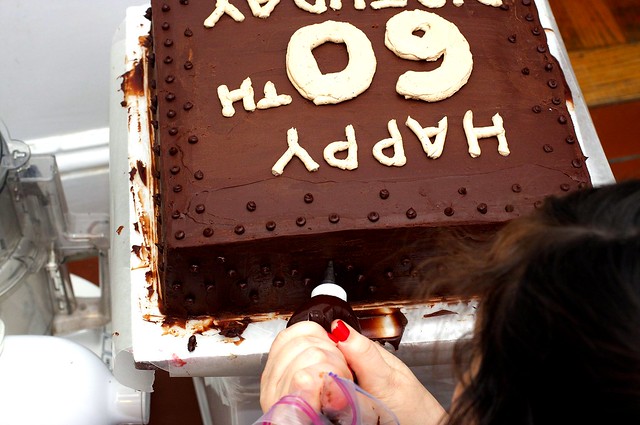
My father-in-law, being the young man that he is, turned 60 this past weekend, and if you think I was going to let my in-laws buy him a cake from a bakery, you have no idea how typing those words caused a shudder to rise up in my chest. A cake from a bakery! Promise me a homemade cake if I make it to 60. I’m hoping to have amassed enough cake-baking karma by then to avoid having to ask.
But this isn’t entirely about my father-in-birthday law’s cake. (However, you’ll see the recipe later in case you want to make your own 12-inch square insanely chocolaty cake.)I’ve been meaning to share many of my favorite layer cake tips with you for a long time. I get a lot of emails about them, with people asking about the logistics of putting them together, and I realize I’ve absorbed a lot of advice over the last fifteen years or so, and I’m overdue to summarize it all in one place.
10 Tips for Better Layer Cakes
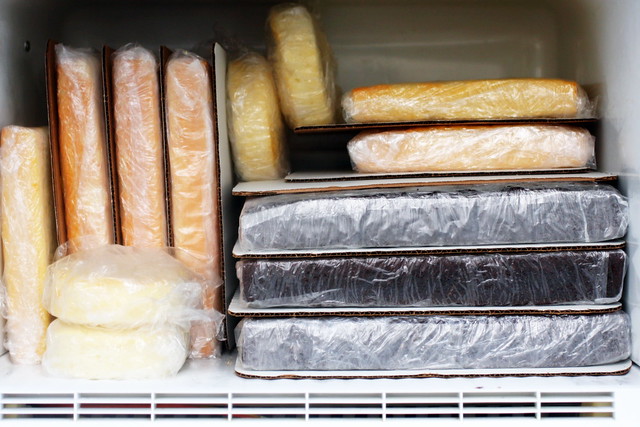
1. My obsession with the freezer: If you’ve read a few of my Celebration Cakes posts, you’ve most likely heard me mention the freezer once, twice, or even 32 times. When it comes to cakes, I am clearly obsessed with the freezer, and for good reason: the freezer is your friend. When cakes are frozen, they are much easier to work with, from lifting layers to stacking them, leveling the layers, and even setting some frostings. How does one go about freezing a cake layer? I employ the flash-freezing technique. I put a single layer in the freezer, either on a parchment- or waxed paper-lined tray or right on the cooling rack, making sure it’s not touching anything else, and freeze it until it’s solid — about 30 minutes to an hour. You can use it immediately after freezing it, or wrap it tightly in plastic until you need it again.
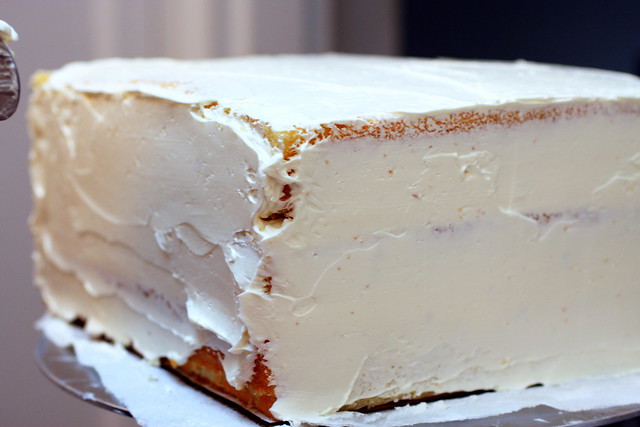
2. Baking even layers: If you’re stacking one cake layer on top of another, the surfaces should be flat.
A flat-bottomed cake layer on top of a rounded cake dome will inevitably crack, and I will inevitably scream.
It is completely avoidable.
We’ll get to leveling your cake later, but the best way to have less to level (and less scraps to “nom” on, because you will, and then you won’t have room for a real slice) is to bake them more evenly from the start. There are two approaches to this.
The first method is to use Evenbake Cake Strips, which are meshy metallic fabric strips that you dampen and pin around the outside of a cake pan before baking it.
I’ll spare you the science (as if I understand it), but they truly are magical, and your cake layers come out evenly.
The gadget-free method, and an old baker’s secret, is the second way to get your cakes to bake more level, but the results are a little less flat, but still impressive.
Simply bake the cake for a longer period of time at a lower temperature (usually 300 instead of 350).

3. Leveling: You’ve done everything possible to achieve nice, even layers, but guess what? There will be uneveness because you’re baking, not building a cake out of styrofoam blocks (in case you’ve ever wondered why your cakes never look like those in wedding magazines, I’ve now gleefully blown their cover). This is when you pull out your longest serrated knife and begin trimming. Oh, I know some people use a level, but that’s one step beyond my level of insanity; instead, I eyeball it. I also level the sides. Even when you stack two cake layers from the same recipe baked in the same pan, their edges will not meet perfectly, and you’ll have to spackle them smooth with frosting. You could also trim the sides with the same knife.
4. Cake boards: There is no easier way to transfer a cake from a box to a platter to the fridge to wherever you need to take it than with a cake board. Sure, you can cut your own out of cardboard, and I have done so many times when I forgot to buy one or grabbed the wrong size, but if you have a baking supply store nearby, they probably sell them for a quarter. Depending on your needs, you can buy cheap cardboard ones or thicker, decorated ones; I buy extras because they’re handy to have around. What should you look for? A board two inches larger than your cake. This creates a one-inch border around the cake, which protects the beautifully decorated cake sides from damage when slid into a box. If you also buy cake boxes. You’re looking for a size that corresponds to the board, not the cake.
5. Keeping your cakes moist: Assume, for the sake of argument, that you’re making a wedding cake and are concerned that the cake will dry out between the time you start and finish it. Brushing it with a simple syrup, one part water to one part sugar, or even three parts water to one part sugar (if you’re worried about the cake becoming too sweet) before beginning to decorate it is the best way to avoid this. Well, I’ve rarely seen a layer cake that didn’t benefit from a little extra moisture. But there’s no need to be boring: flavor the syrup with citrus zest or juice (or boil the syrup with a citrus peel inside), a shot of liqueur or your favorite extract, or any other flavoring you can think of. It’s especially enjoyable when used to complement the flavor of the cake. Do you want to learn another secret? I didn’t even use a syrup on the chocolate layer when I made the wedding cake; just a little water with vanilla in it.
6. Waxed paper strips: Your cake layers are baked, and you’re ready to begin decorating. You gently place your frozen cake layer in the center of your cake board (see how simple it was when it was cold?) and you’re about to pull out the filling and frosting, but hold on! Before you take anything else out that will ruin your cake board (which you’ll probably be serving the cake on, so you want it to look nice), slip small pieces of waxed paper underneath the edge of the cake all around its circumference until the board is completely covered. No matter how much of a mess you make while decorating, the board will still look shiny and new when you’re finished, and remove it.
7. Crumb coating/masking: If you remember nothing else from this post, promise to remember this. The presence or absence of a crumb coat almost always makes the difference in the appearance of cakes iced by professionals and those iced by home cooks. The crumb coat is a thin layer of frosting that serves as the “base coat.” It sort of glues the crumbs into the cake (which is especially important for dark cakes with light frostings) and prepares the cake for the thicker, smoother layer that will come later. There is no need to make this coat perfect, but you must cover every crumb of the exposed cake or they will sneak through, trust me. After you’ve finished masking the cake with the crumb coat, chill it for 30 minutes to an hour before applying the final coat. It will go much more smoothly than you are accustomed to.
8. Things that can be done ahead of time: Making the cake layers (Bake layers up to a week ahead of time, triple-wrapped in plastic and frozen.) Making some fillings (Curds keep well in the fridge, often for a week or more.) I’m making some frostings. (I’ve had the most success with Swiss Buttercream, which can be left out at room temperature for an entire day without going bad or forming a crust.) That is, assuming you don’t live in a sauna.) Making the entire cake is common. (Most finished cakes will keep moist and delicious in the refrigerator for at least a day.)
Conversion of Pan Sizes Let’s say you want to turn a 12-inch cake into a sheet cake, a 9-inch circle into an 8-inch square, a bundt into cupcakes… This cake pan size conversion chart will show you what is possible and what must be scaled.
10. Resources: Despite all of this, as well as a wedding cake, I am no cake expert. At best, I’m a cake dabbler, and the amount of advice I’m comfortable giving is limited to what’s on this page. If you have any further questions, the Wilton boards (those people know their stuff!) and the website (they have excellent guides) are the best places to get good answers. I believe Rose Levy Beranbaum’s Cake Bible is the best of the books, but I haven’t looked at many others. I’ve yet to meet anyone who regretted spending $23.
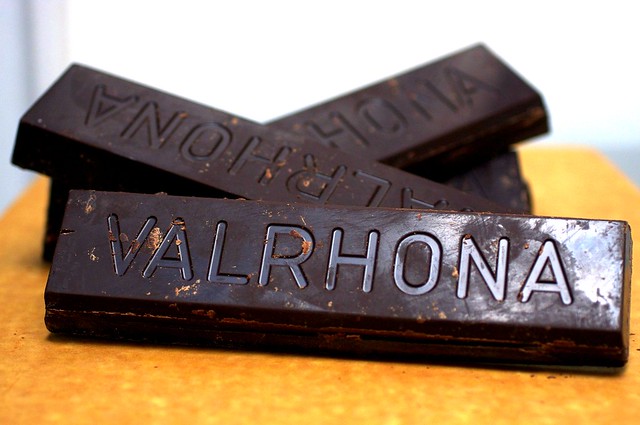
This cake’s components may look familiar. We used the cake recipe from the wedding cake (that post includes the recipe for a regular-sized version of the cake), though it’s three layers tall instead of two (I didn’t think a birthday cake needed the height/grandiosity of a wedding cake), and the filling we used on those layers (Brandied Bittersweet Ganache) was actually the frosting on this (though realizing I’d made extra, I put a little between the layers too).
I alternate between this chocolate layer cake and the Double Chocolate Layer Cake. That is, without a doubt, the most incredible chocolate layer cake — it’s insanely moist, soft, and light-tasting, and no one who has made it has been disappointed. This cake, on the other hand, has its advantages: it’s sturdier but still moist, it’s practically a one-bowl recipe, and it’s a lot easier to work with because it’s not so soft that you end up with a handful of crumbs if you pick it up. (If there was ever a disadvantage to an extremely soft cake, this is it.) This is the one to use for large cakes and wedding cakes, or if you find soft cakes difficult to work with.
Cake layers
5 1/3 cup cake flour 5 1/3 cup sugar 2 2/3 cup unsweetened cocoa powder (does not have to be Dutch process)
6 half a teaspoon baking soda
1 1/4 teaspoon cinnamon powder
1.5 teaspoon salt
5 1/3 sticks (20 2/3 ounces) room temperature unsalted butter
2 and a half cups buttermilk
1 large egg yolk plus 5 large eggs
2 and a half cups freshly brewed coffee, room temperature
1 cup raspberry seedless jam (for cake assembly)
1. Preheat the oven to 350° F. Butter and flour two 12-inch square cake pans. Line the bottoms of the pans with parchment or waxed paper and butter it.
2. Combine the flour, sugar, cocoa, baking soda, cinnamon, and salt in a large mixing bowl. Blend for about 30 seconds on low speed with an electric mixer. Blend in the butter and buttermilk on low until combined. Increase the speed to medium and beat for 2 to 3 minutes, or until light and fluffy.
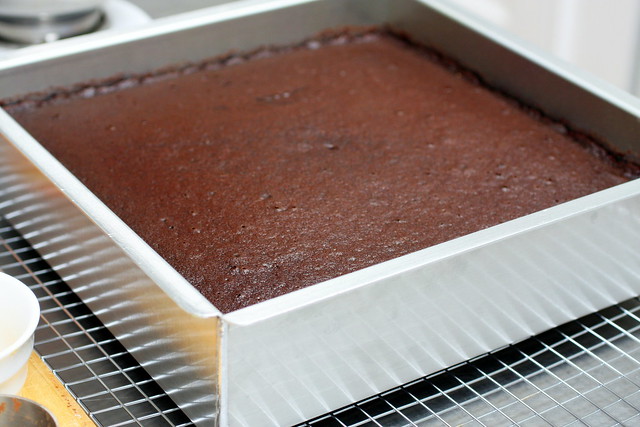
3. Whisk together the eggs and coffee, then add to the batter in three additions, scraping down the sides of the bowl and only beating until blended after each addition. Divide the batter evenly between the two prepared pans; each pan will take about 5 1/2 cups batter
4. Bake for 50–55 minutes, or until a cake tester or wooden toothpick inserted into the center of the cake comes out clean. Turn them carefully out onto wire racks to cool completely. When the paper liners are cool, remove them.
[Approximately 6 cups] Brandied Bittersweet Ganache
2 pounds bittersweet chocolate, broken up 2 sticks (8 ounces) unsalted butter, cut up 2 cups heavy cream, slightly heated to remove the chill
1/2 cup cognac or brandy
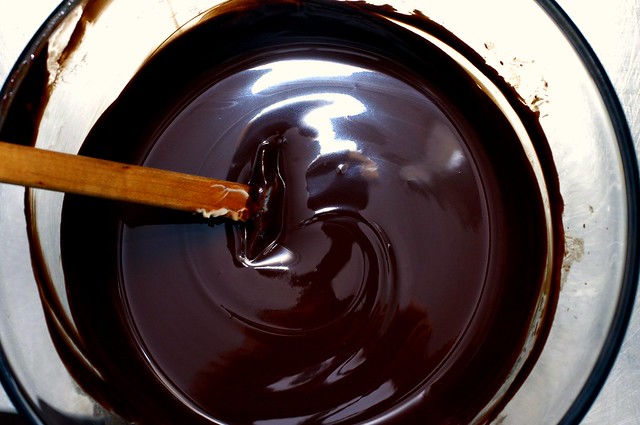
1. In a large heatproof bowl, combine the chocolate and butter. Place the bowl over a saucepan of barely simmering water. Stir to combine the chocolate and butter as they melt.
2. Once completely melted, remove from the heat and whisk in the cream, followed by the brandy. Make sure to thoroughly scrape and mix the bowl. Allow to cool and thicken to a mayonnaise consistency.
Make the Cake
1. Place one 12-inch layer on a 14-inch cake board. If the top has domed, level it with a long serrated knife. 1 cup ganache, spread thinly over cake layer (optional, you can have a raspberry-only filling too). Once the ganache has set, spread it with the jam (if your cake is cold, this will happen quickly; otherwise, place it in the fridge for a few minutes).
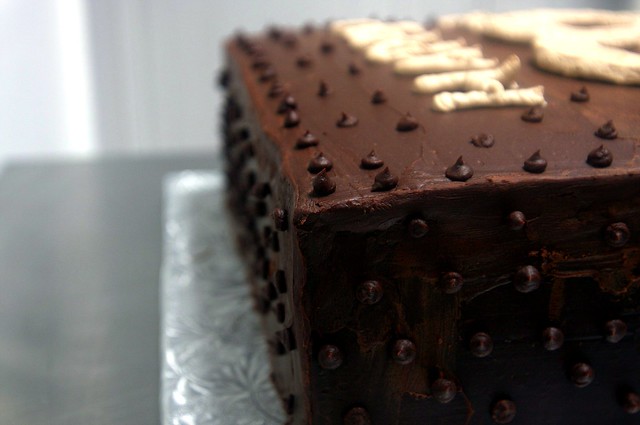
2. Carefully place the second layer on top of the filling. Smooth out any overhanging or crooked edges with the knife. Cover the top and sides of the cake with a thin layer of ganache to cover all of the crumbs. Allow time for it to settle. Spread the remaining ganache over the tops and sides once the ganache has set. [I had some extra and used it in a piping bag with a thin round tip to make the dots. You will only require a small amount.]
“”

